Wrestling with Pelican part 2
Posted on Fri 22 January 2021 in pelican
Post #14 Pelican configuration
The initial set-up of pelican wasn't the difficult part. You can get a basic static site up and running, but I wanted to get fancy with some of the configurations. Below are the main configurations I messed with before deploying my static site on github pages.
pelicanconf.py
Just looking at the settings documentation was intimidating for someone who hasn't coded for very long. There were so many configuration settings and some with little explanation of what they do. At this point, I could get a very basic pelican static site up and running, but confused on how to customize it to my own liking. Therefore, I had to look at other people's pelican static sites and see what they had in their configuration python file.
pelican themes
Pelican comes pre-installed with two themes called 'notmyidea' and 'simple'. In pelicanconf.py file, simply add THEME = 'nameoftheme' to change the theme, provided the theme is already installed.pelicanconfi.py theme setting documentation
To download already existing pelican themes, go to getpelican/pelican-themes repository and clone one of the themes you like. To view most of the themes, got to http://www.pelicanthemes.com/.
After picking and cloning a theme to your PC, you can install it into your pelican library in your virtual environment or global python folder. Use the pelican-theme command line tool and type pelican-themes --install /filepath of cloned theme on pc pelican themes install documentation. Then, your theme will be in .\venv\Lib\site-packages\pelican\themes folder if installed on a virtual environment. You should be able to see that the theme is properly installed by typing pelican-themes --list in the command line --list documentation.
For this blog, I chose to use the Flex theme since it looked nice, has good features, and looks like it is updated.
Main menu
The main menu feature gives a menu at the top of your page. I thought it would be nice for people to search for blogposts by the categories and tags I had created.
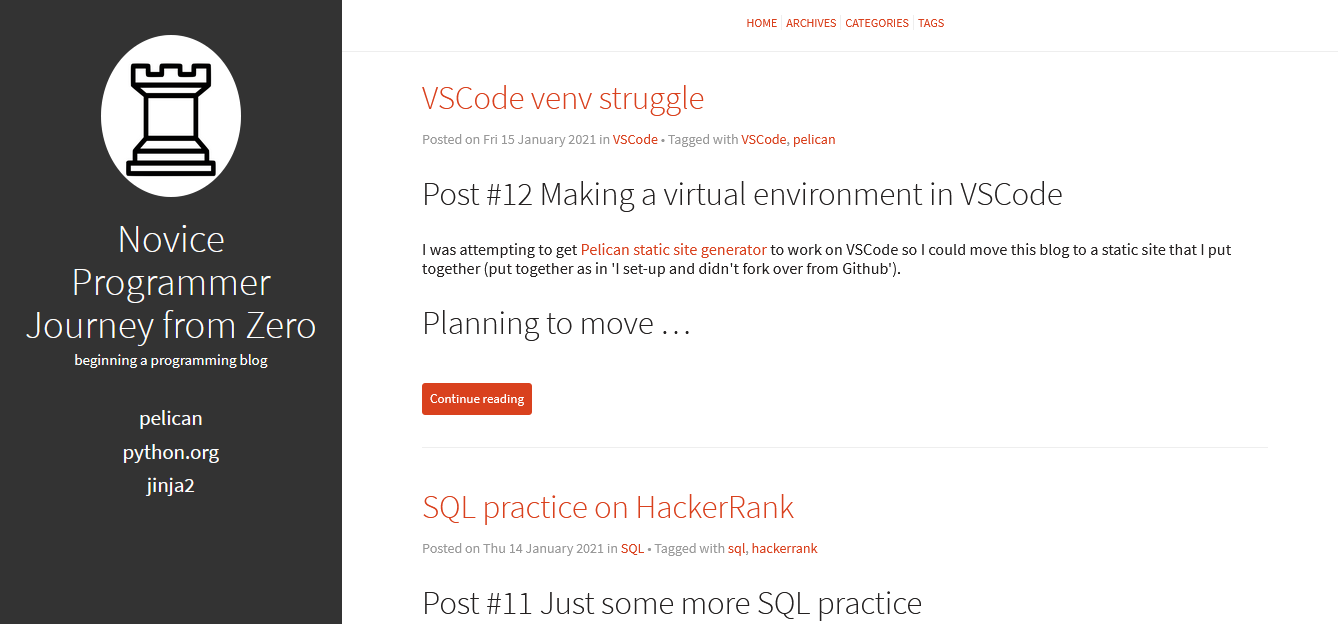
To add the main menu, add the following to your pelicanconf.py file.
MAIN_MENU = True
MENUITEMS = (("Archives", "/archives"), ("Categories", "/categories"), ("Tags", "/tags"),)
For some reason, my HOME button doesn't work, so I need to figure out why.
Structuring content folder with sub-folders
The file organization isn't a configuration issue, but will be one later when html pages are created in the output folder.
I did not like the initial content folder structure where all your markdown files live in the content folder by default. You have to make your own folder structure within the content folder.
Below is my folder structure after reading through and figuring it out from the documentation.
project_folder/
|-- content
|-- articles
| |-- 2020
| | |-- article1.md
| | |-- article2.md
| |-- 2021
| |-- article3.md
| |-- article4.md
|-- icons
| |-- picture1.png
|-- images
|-- pages
|-- about.md
Within the content folder, I created 4 subfolders: articles, icons, images, and pages. The two most important folders are the articles and pages.
The 'Writing Content' section in the documentation shows how you can use folders within the content folder and I just wanted to explain a bit more on how this relates to the pelicanconf.py file later.
The articles folder is where all the blogposts markdown files live and I further divided them by a year folder. I didn't want to look at hundreds of posts in one folder so a year subfolder seemed appropriate.
The pages folder is reserved for static pages that don't change as often like a About or Contact page.
After creating these folders and populating them with markdown files, it is important to make sure that pelican can find those files in the proper directories.
set path content directory
For pelican to find the markdown files, you must include the following configuration in the pelicanconf.py file and explanations can be found in the Settings section of the documentation.
PATH = should be set to your content folder
ARTICLE_PATHS = ['article_folder_name'] In my case, 'article_folder_name' is 'articles'.
PAGE_PATHS = ['page_folder_name'] In my case, 'page_folder_name' is 'pages'.
These configuration commands tell that the markdown files are in these folder directories.
Generate HTML files in output folder and publish on Github pages
Publishing documentation
The markdown files can not be used to display your website, it first must be converted to HTML. After adding your Markdown files in the content folder, type pelican into the command line to convert markdown files to html files and generate them into the output folder. After processing, a message like the one below should show.
Done: Processed 14 articles, 0 drafts, 1 page, 0 hidden pages and 0 draft pages in 1.20 seconds.
If there is an error, it may be related to the config file or the metadata on the markdown file.
Once everything is generated, you can preview the whole website using pelican --listen command, which hosts the files in a built-in webserver. To view, go to https://localhost:8000/ on a web browser after the pelican --listen command. To stop hosting, go to the command line and press CTRL+c.
If an edit is made in the markdown file, you must regenerate the html files, therefore, you must type the pelican command again before doing pelican --listen.
HTML file generation
The default save as configuration for html files cause all html files to be saved in the root output folder. It does not reflect how you organized your files in the content folder. To reflect the content folder organization, you must have the following commands in the pelicanconf.py file. (Documentation of URL settings explains more)
The ARTICLE_SAVE_AS configuration controls how a html file is saved in the output folder.
ARTICLE_SAVE_AS = 'articles/{date:%Y}/{slug}.html' is my current configuration. Specifying 'articles' creates a articles folder. The next subfolder '{date:%Y}' creates a year folder. This doesn't have to be done and all articles can be saved in the articles folder, but this is my personal preference.
The final section is the html file name. I wasn't sure what 'slug' meant and had to look it up. From what I understand, a slug is part of the url that explains the page content in simple terms and important for search engine optimization. At this point, I'm just trying to make easily identifiable html file names so they are similar to the title of the blog article. A classic 'I'll figure it out later' topic.
Publish to Github pages
Saving all your work in Github and hosting on Github is the goal here and it was a bit confusing to me. At first, I thought the markdown files were the webpages, until I figured out the html pages in the output was being displayed in the preview. So do you save everything onto your github.io repository? Not exactly. Documentation has a section on publishing on Github. They recommend you to push the contents of the output directory into a gh-pages branch in the repository.
Documentation says to use ghp-import module. The following commands in the command line after html file generation with pelican can help. I followed the 'Project Pages' instructions since I had problems with using SSH required in the 'User Pages' instructions. I don't know why, but it just didn't work.
ghp-import output -b gh-pages
git push origin gh-pages
In the Github respository settings, scroll down to the Github pages section. Change the source branch to the branch that has all of your html files. If you followed the ghp-import instructions, you should have named the branch gh-pages.
I saved my markdown files and the rest of the python files into another branch in the same github.io repository. This way, I have my html files in the gh-pages branch and the markdown in the default branch. I recommend making a .gitignore file so that you don't push your virtual environment and ouput folder into the markdown branch.
404 File not found when clicking article
After pushing my html pages into gh-pages branch in my github.io repository, I still had a problem with the articles. I got a 404 file not found error when I clicked on my posts. I didn't understand the problem for a few days. I looked through other people's pelican repository, specifically their pelicanconf.py file and it hit me. The ARTICLE_URL configuration has to be the same as the article folder path! I had thought the article url could be different as the article save as path. Once I had ARTICLE_URL = ARTICLE_SAVE_AS, the articles showed back up! I was a little sad it took a couple days to figure that out.
Future work
What I want to work on in the future:
-
add search bar
-
make sure home button goes to a home page
-
explore plug-ins
posts for another day...